 ← All Guides
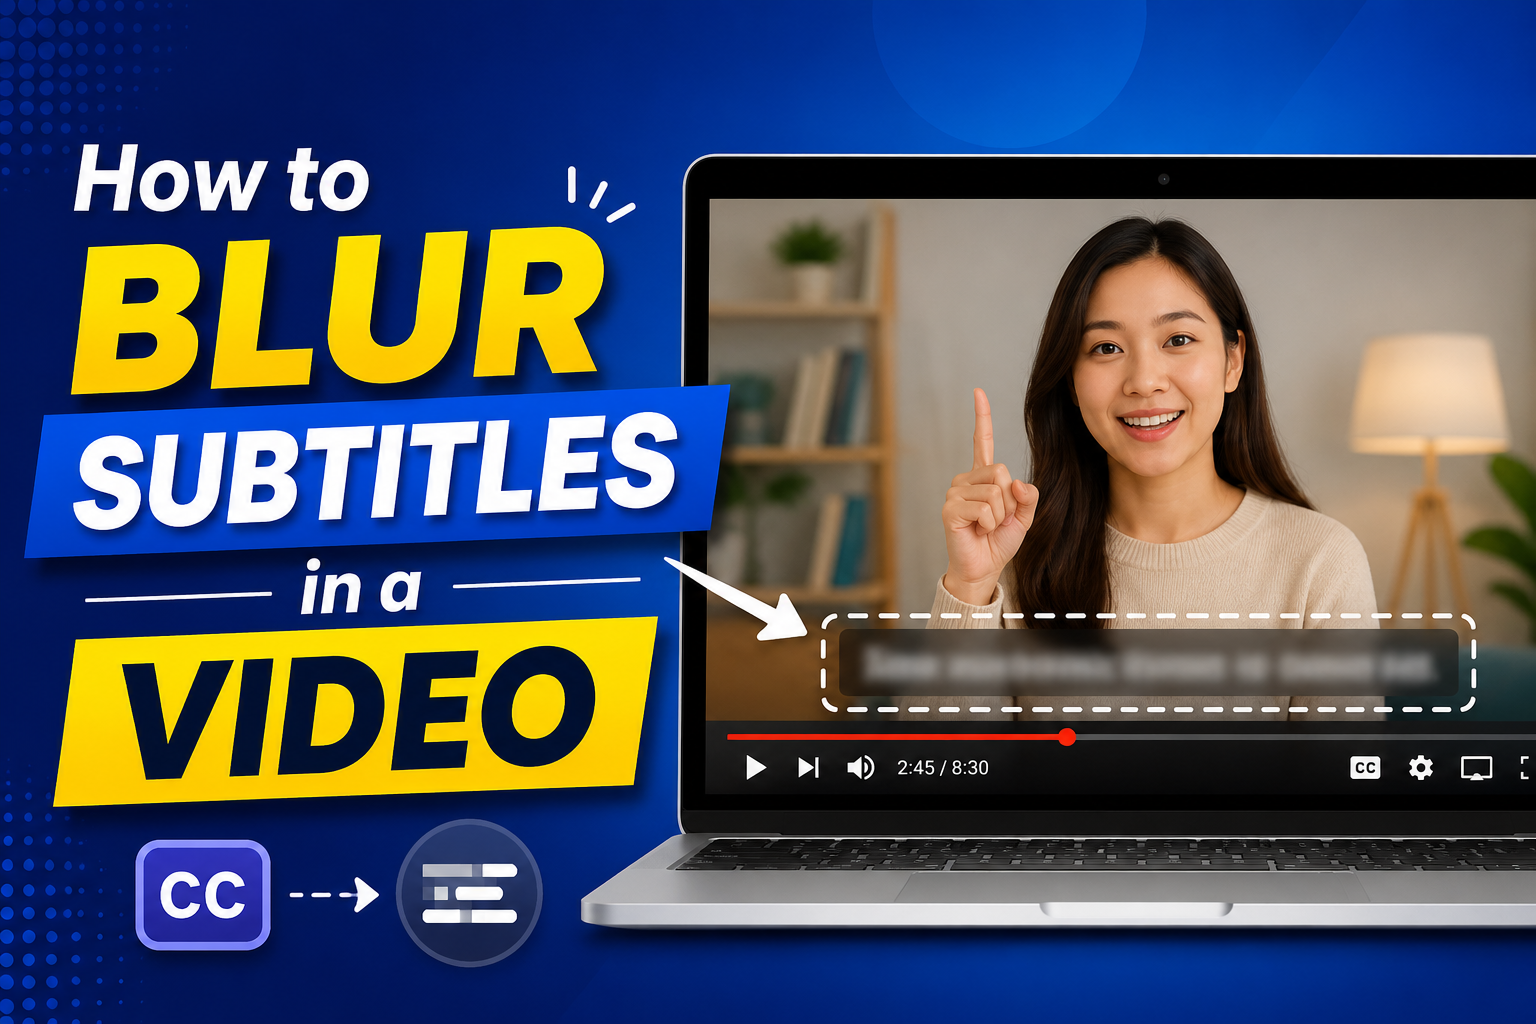
When you download a video that already has hardcoded subtitles burned into the footage, removing them is not straightforward. You cannot simply delete a text layer — the subtitle text is part of the video image itself. The most effective and visually clean solution is to blur the subtitle region so the text becomes unreadable while the video continues to look natural.
CreatorMedia Studio's Subtitle Blur tool uses a feathered Gaussian blur — meaning the blur fades gradually at the edges rather than having a hard rectangular cutout. This produces a professional result that blends seamlessly with the surrounding video.
A common alternative is cropping the video to remove the subtitle bar at the bottom. While this works, it permanently changes the video's aspect ratio and composition. Blurring preserves the original frame while making the subtitle text illegible, which is often the preferred outcome.
Navigate to Media Tools → Subtitle Blur from the dashboard sidebar. The tool opens in a two-panel layout with a video preview on the left and settings on the right.
Click the upload box in the sidebar or drag and drop your video file. Supported formats include MP4, MOV, AVI, and MKV. The video will appear in the preview panel and resolution information will be displayed automatically.
A blue dashed blur box will appear over the video preview. Drag it to position it over the subtitle area. Use the top and bottom edges to resize the height. The box shows exactly which region will be blurred in the output video.
Use the Blur Strength slider to control how strong the blur effect is. A value of 16 is the default and works well for most subtitle sizes. Increase to 25–30 for very bold or large subtitle text.
Click Apply Blur. The video is processed on the server using FFmpeg with a feathered alpha mask. When complete, click Download Video to save the output file.
Only the blur region is modified. Everything else — the video speed, audio, resolution, frame rate, and all other areas of the frame — remains completely unchanged. The output file is a standard MP4 file encoded at high quality.
The feathered edges make the blur look natural rather than like a rectangular overlay. The blur itself is intentionally visible — the goal is to make the text unreadable, not to hide that blurring occurred.
The current tool supports one blur region per processing job. For multiple regions, you can process the video twice.
No. Audio is copied directly from the source without modification. Video duration is unchanged.
Free to use — no installation, no account required to preview
Open Subtitle Blur →